
What Happens on Event Day? A Complete Organizer Checklist
If you’ve spent weeks or months planning your market, festival, or pop-up event, event day can feel exciting—and stressful.
You’ve secured the venue, recruited vendors, promoted the event, and handled logistics. Now it’s time to make sure everything runs smoothly.
The good news? Most successful events follow the same basic process on event day.
Use this organizer checklist to stay organized, reduce stress, and create a better experience for both vendors and shoppers.
Prefer to watch instead?
Watch the full video below where I walk through exactly what happens on event day and share tips for avoiding common organizer mistakes.
Quick Event Day Checklist
Before Vendors Arrive:
✔ Arrive early
✔ Check venue access
✔ Set up organizer check-in area
✔ Place directional signage
✔ Confirm vendor layout
✔ Test power and Wi-Fi (if applicable)
✔ Prepare vendor packets and wristbands
Vendor Check-In:
✔ Welcome vendors
✔ Verify booth assignments
✔ Answer setup questions
✔ Handle last-minute issues
✔ Confirm emergency contact information
Before Opening:
✔ Walk the entire event
✔ Ensure vendors are ready
✔ Check trash stations and restrooms
✔ Verify music and announcements
✔ Review staffing assignments
During Event:
✔ Monitor vendor needs
✔ Handle customer questions
✔ Capture photos and videos
✔ Post social media updates
✔ Address issues quickly
Closing Time:
✔ Announce event ending
✔ Manage vendor breakdown
✔ Ensure venue cleanup
✔ Collect feedback
✔ Thank vendors and staff

Arrive Earlier Than You Think You Need To
One of the biggest mistakes new event organizers make is arriving too close to vendor setup time.
Give yourself a buffer.
If vendors begin arriving at 8:00 AM, consider arriving at 6:30 or 7:00 AM.
That extra time allows you to:
- Walk the venue
- Handle unexpected problems
- Confirm booth placements
- Check entrances and exits
- Set up signage
Something will almost always need attention.
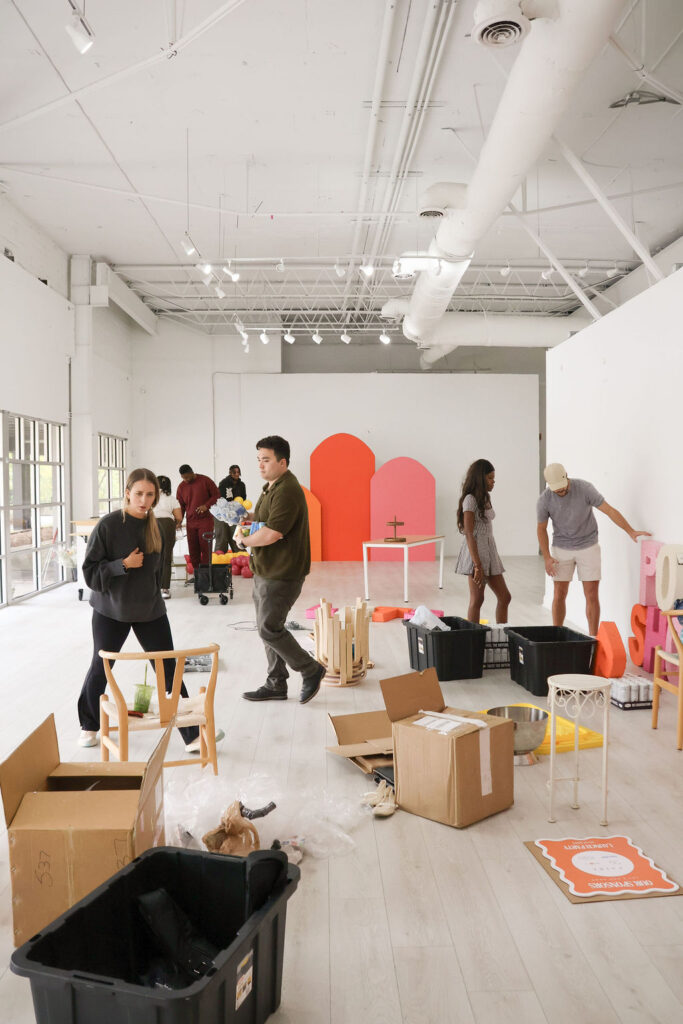
Make Vendor Check-In Easy
Vendor check-in sets the tone for the entire event.
When vendors arrive, they should immediately know:
- Where to park
- Where to unload
- Where their booth is located
- Who to contact with questions
Consider creating:
- Booth maps
- Vendor information sheets
- Setup instructions
- Parking information
The easier you make setup, the happier your vendors will be.

Walk Every Booth Before Opening
Before shoppers arrive, do a complete walk-through.
Look for:
- Empty booth spaces
- Safety concerns
- Extension cord hazards
- Vendor questions
- Signage issues
This is also a great opportunity to introduce yourself to vendors who may not have met you yet.
Building relationships with vendors often leads to higher retention and stronger future events.

Be Visible Throughout the Event
Some organizers disappear after opening.
The best organizers stay engaged.
Walk the event regularly and check in with vendors.
Ask:
- How is everything going?
- Do you need anything?
- Is there anything I can help with?
Many small issues can be solved quickly if vendors feel comfortable bringing them to your attention.
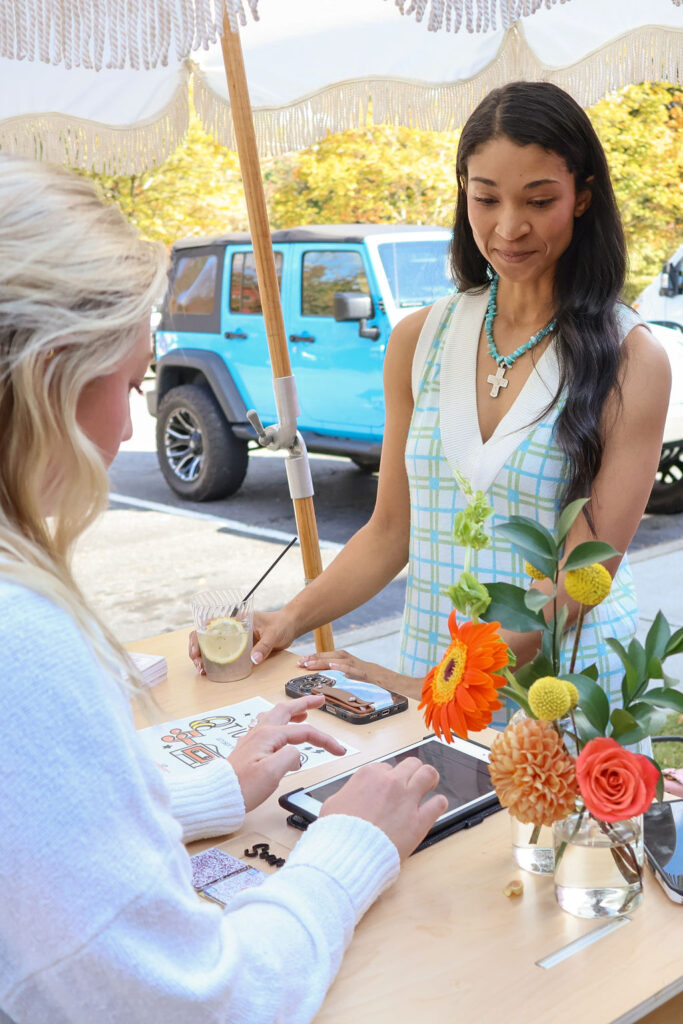
Capture Content While the Event Is Happening
Event day creates some of your best marketing opportunities.
Take photos and videos of:
- Vendor booths
- Shoppers browsing
- Busy crowd moments
- Food vendors
- Live entertainment
- Venue details
This content becomes valuable for:
- Future vendor recruitment
- Social media promotion
- Website updates
- Event applications
- Sponsor outreach
A well-documented event is much easier to market next time.

Expect Something to Go Wrong
Even experienced organizers encounter surprises.
You may have:
- Vendors arrive late
- Weather changes
- Power issues
- Last-minute cancellations
- Parking challenges
This is normal.
The goal isn’t perfection.
The goal is staying calm and solving problems quickly.
Vendors often judge organizers less on whether problems happen and more on how they respond when they do.
End the Event Professionally
When the event concludes:
- Thank vendors personally
- Communicate breakdown procedures
- Ensure the venue is left clean
- Confirm all vendors have exited safely
A positive ending leaves vendors with a good final impression and increases the likelihood they’ll apply to future events.

Keep Your Vendor Information Organized
One of the biggest challenges organizers face isn’t event day—it’s managing everything before and after the event.
Applications, vendor communication, approvals, waitlists, and event information can quickly become overwhelming.
That’s why many event organizers use Let’s Pop Shop to:
- Create vendor applications
- Accept vendor submissions
- Manage event listings
- Communicate with vendors
- Review applications in one place
Whether you’re hosting a small community market or a large festival, having a centralized system can save hours of manual work.
Ready to Simplify Vendor Management?
Create your free organizer account on Let’s Pop Shop and start managing your vendor events in one place.
Create Your Organizer Account Today: app.letspopshop.com
Helpful Resources for Event Organizers
- How to Plan a Market Event
- How to Price Booth Fees for Your Market
- How to Choose Vendors for Your Event
- Event Marketing Ideas for Vendor Markets
Related YouTube Videos
Final Thoughts
Successful event days rarely happen by accident.
They’re the result of preparation, organization, communication, and staying flexible when unexpected challenges arise.
Use this checklist before every market, festival, or pop-up event to create a smoother experience for vendors, shoppers, and your team.
The more organized you become behind the scenes, the more successful your events can be.